Step 4.0. Create Payment Group
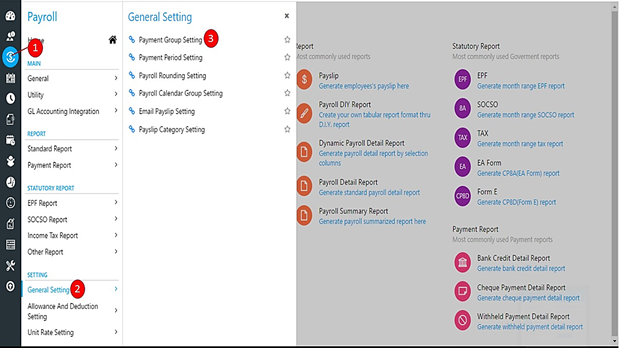
Step 1, 2 & 3: Go to Payroll -> General Setting -> Payment Group Setting
Step 4: Click the 'Create' button to create a new Payment Group.
Step 5: Enter the Code and Description for the new Payment Group that you are going to create. Typically Payment Group is named by the number of Payment to be made monthly.
Step 6 & 7: For each Payroll Rate, choose the Cute Off Period and Payroll Calendar. If you haven't create a Cut Off Period yet, please click here to view how to create a new Cut Off Period. For Payroll Calendar, you should be able to select default options from the drop down list.
Step 8: Click 'Save' button.
Related Articles
5.1.1 Payment Group Setting
Location: Payroll -> General Setting -> Payment Group Setting Click on 'Create' to create a new payment group. Code Enter the Code for the New Cut Off Setup here. Description Enter the Description of the new Cut Off Setup in the column here. ...1.3 Auto Bank (Bank Payment File)
The Auto Bank feature allows you to generate auto bank file/diskette for payout items such as Salary, EPF, SOCSO and etc to your company bank. In order to use our Auto Bank feature, you will need to create the auto bank format/diskette. You may ...3. Create Expense Group
Creating an Expense Group helps you to manage your Expense Claims better. The idea is that you can group Employee under different Categories based on their entitlement, jog grade, etc. We will show you how to create a new Expense Group in this ...3.15 How to Update EPF Group for Employee?
The government had recently announced the minimum Employee Provident Fund (EPF) contribution by employees will be reduced by 4 % from 11 % to 7 %, with effective from 1 April 2020 to 31 December 2020. Question(s) How should I update the EPF Group for ...Step 3.0. Create Payment Period
Step 1 ,2 & 3: Go to Payroll -> General Setting-> Payment Period Setting Step 4: click 'Create' button. Step 5: Key in the Code and Description here. Step 6: Enter Description for each Period here. It is advisable to enter meaningful Description ...