Non Paid Leave Verification Wizard
Leave -> General-> Non Paid Leave Verification Wizard
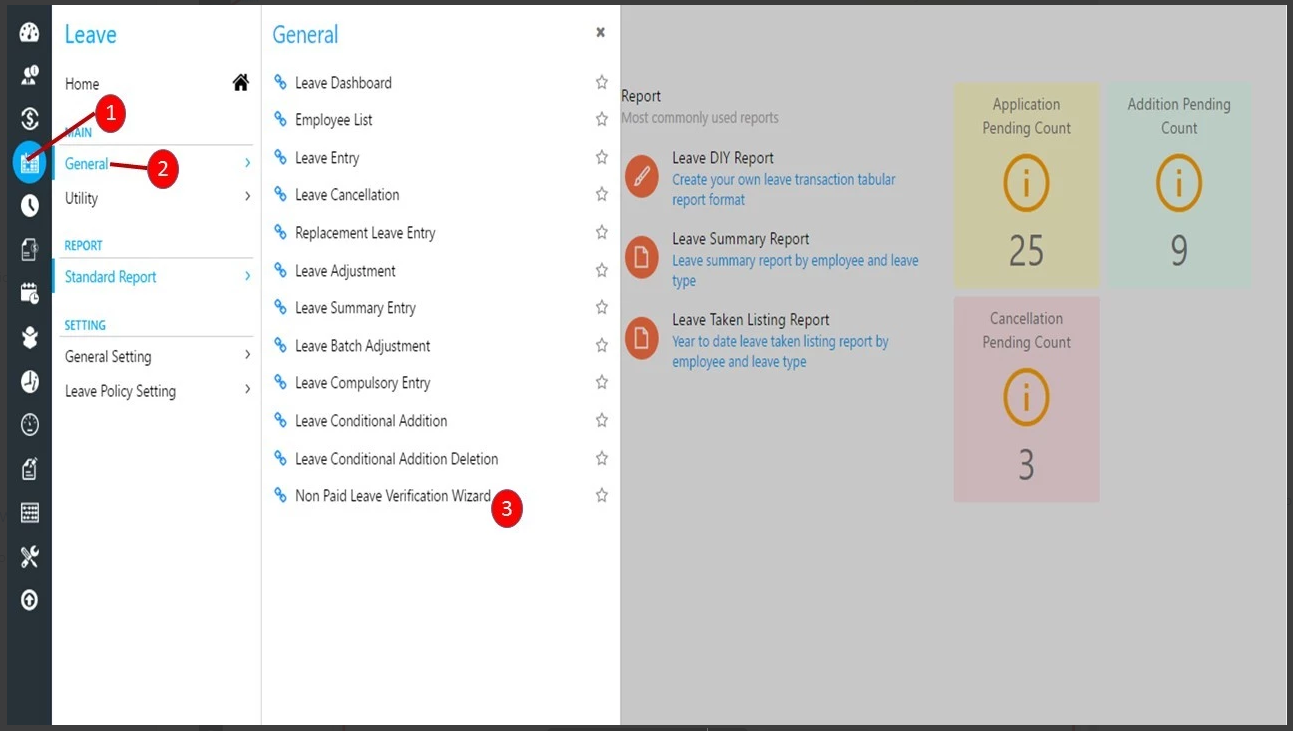
The leave verification wizard allows administrator/verifier to cross check on the unpaid leave records before integrating with data in Payroll process.
The Non-Paid Leave Verification Wizard consists of 2 portions. Configuration refers to the Verification Configuration and History refer to the generate the verified history. Let us go through the process leave verification.
Here are the steps of running through the non paid leave verification wizard:
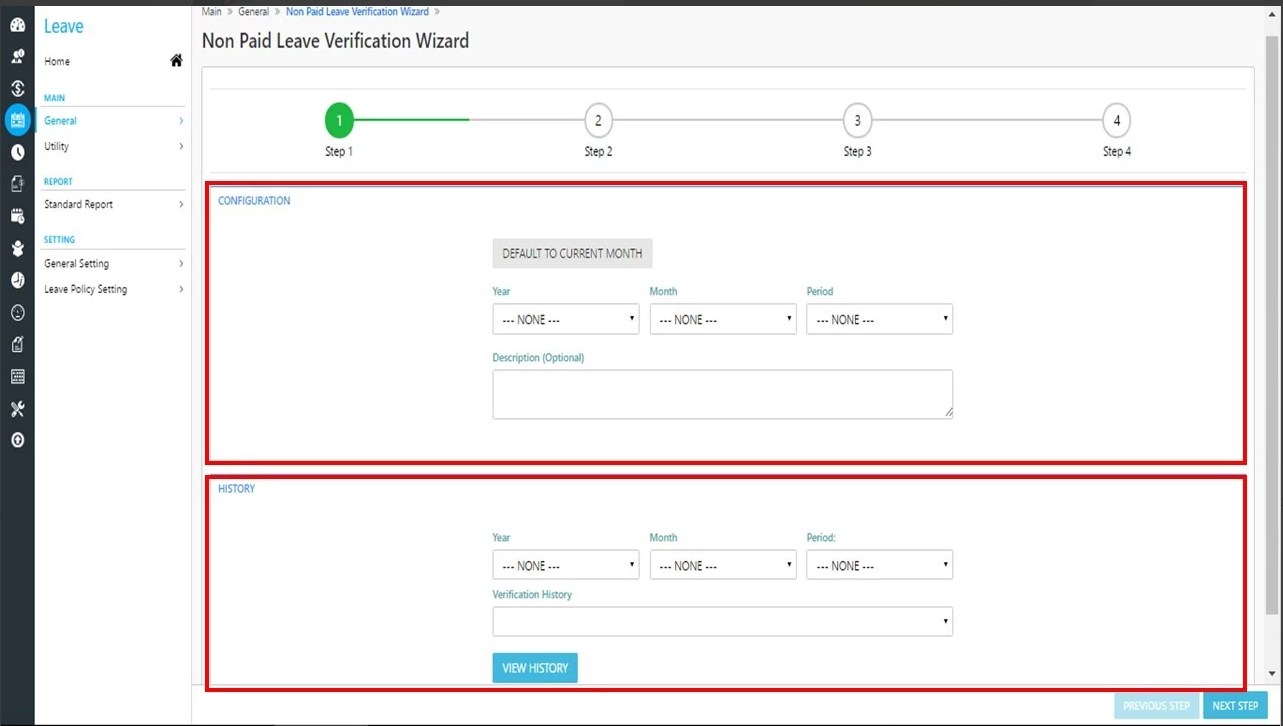
Step 1 Page:
Select Year, Month and Period. The system will based on the unpaid leave cut off to extract data for verification purpose.
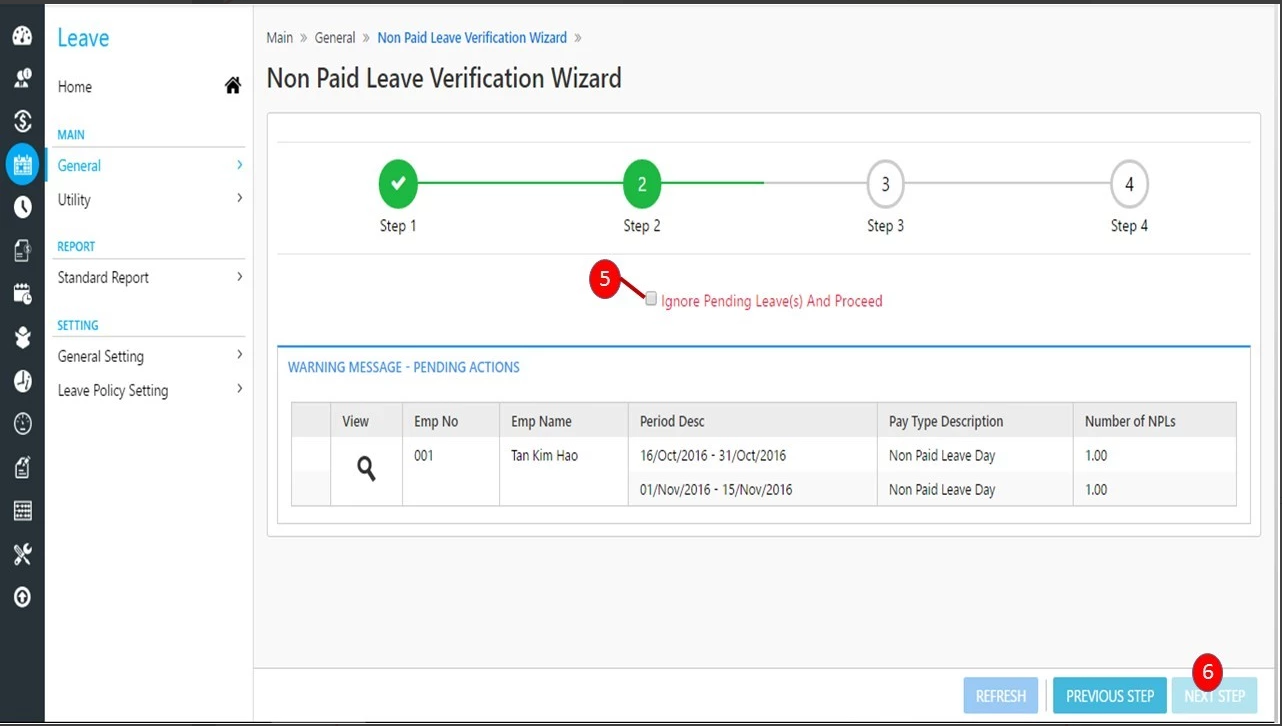
Step 4: Click on 'Next Step' to proceed.
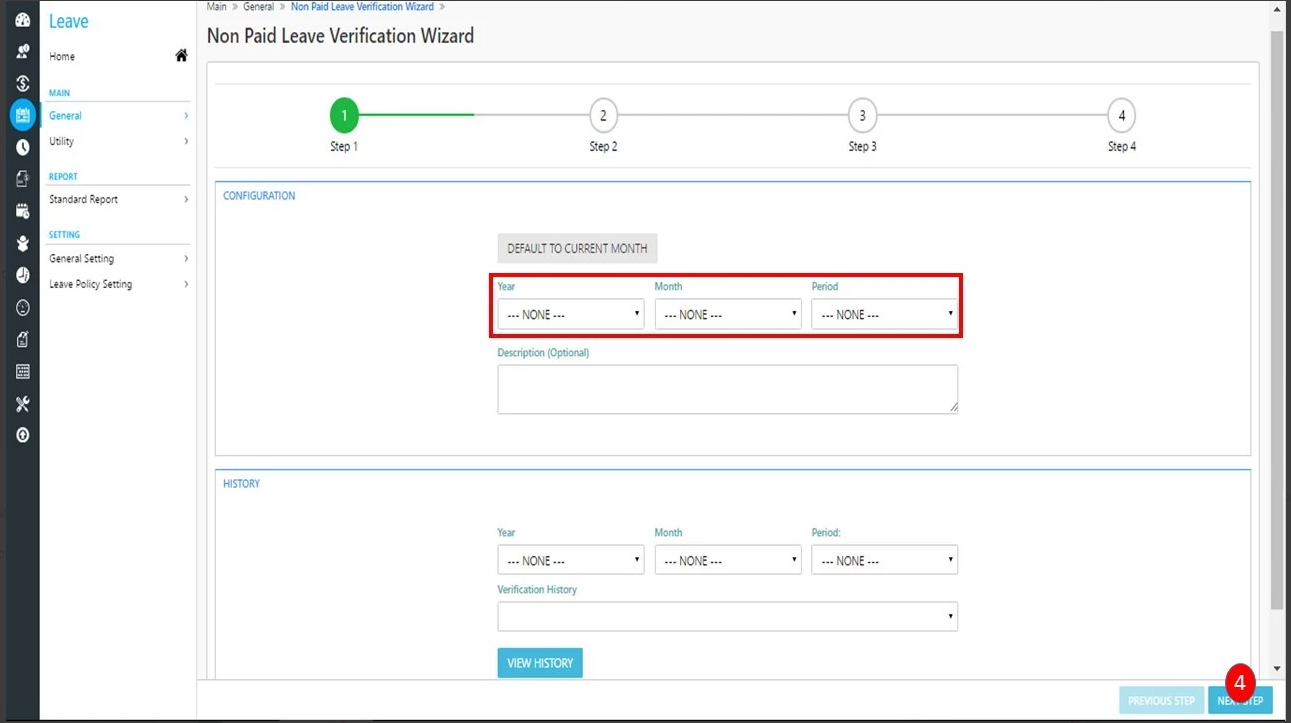
Step 2 Page:
In Step 2, the system shows the pending unpaid leave records.
If it prompts the message "No Warning Message", it means there is no pending Non Paid Leave applications.
Step 5: If there are pending leaves, you may either take action on the pending applications or choose to ignore the pending records.
Note: If you choose to ignore the pending NPL will not be included in payroll (no unpaid leave deduction).
Step 6: You may click on the Next Step button to proceed to Step 3.
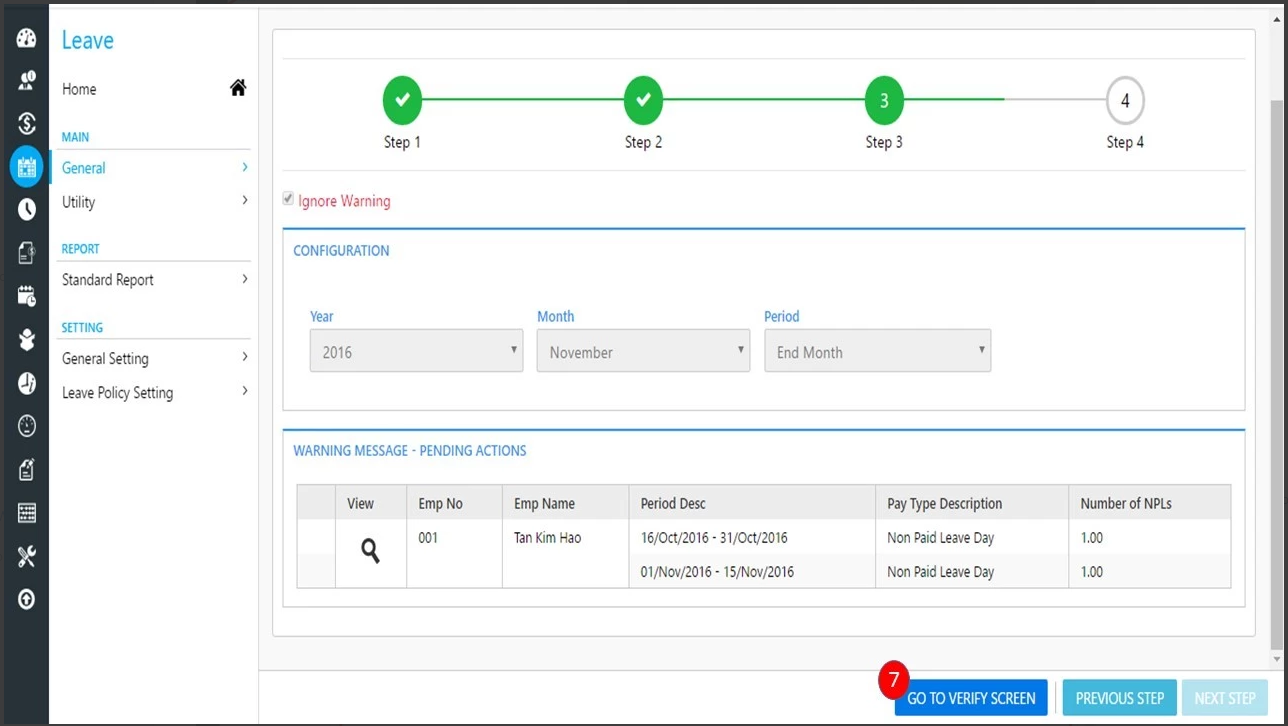
Step 3 Page:
Step 3 is only show with the summaries of Step 1 & Step 2.
Step 7: User may need to click on Go To Verify Screen button to bring you to the verify screen.
Step 8: Once click you will go to another page below. Click Confirm
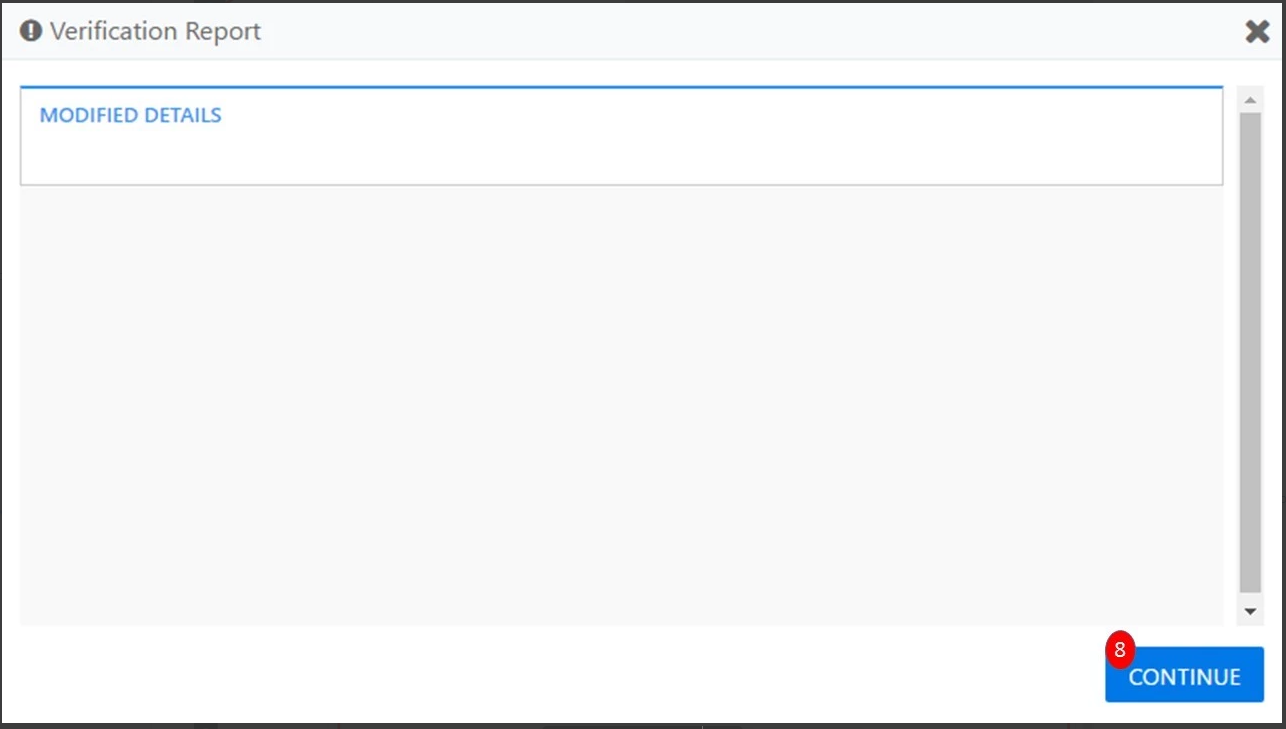
You will go to step 4 of the wizard if there is no issue.
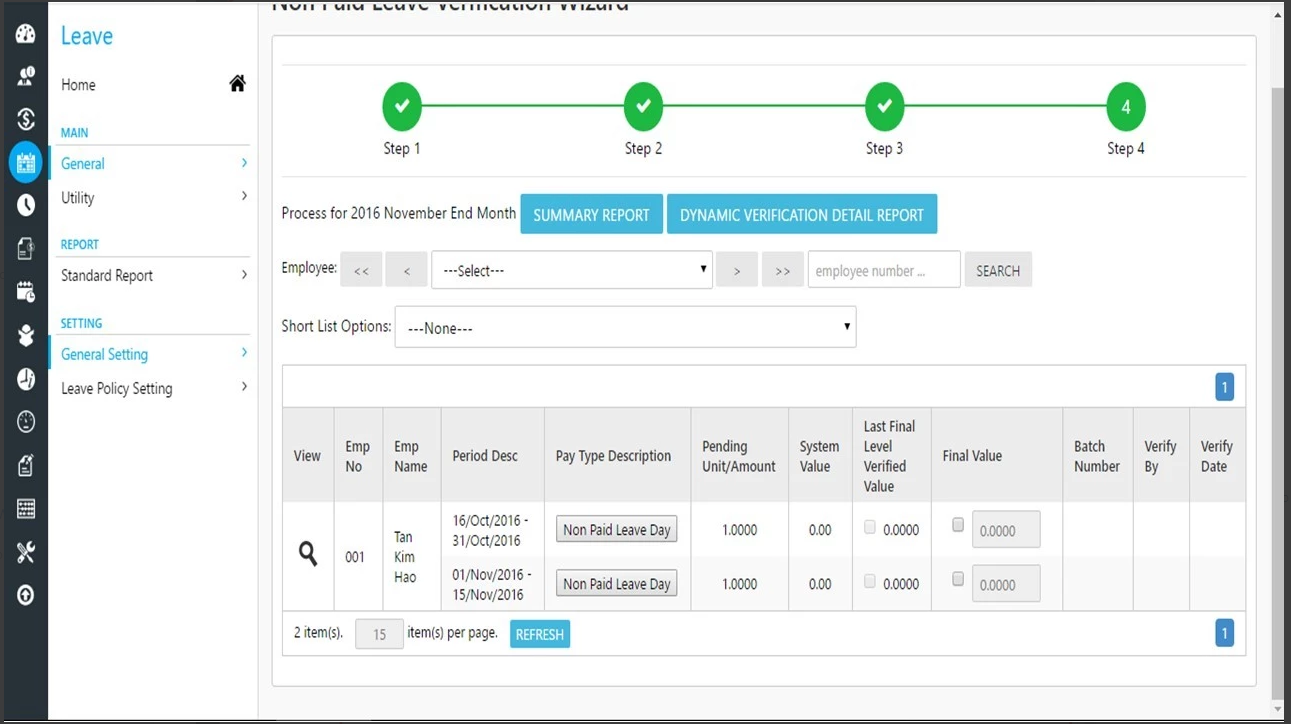
Step 4 Page:
At Step 4 which is the verification screen, it will show the Approved NPL units as Final Units. Verifier or administrator can amend the NPL units. If there is any pending NPL leave, the verifier may amend the Final Units to include the pending units. However, it is advisable to ensure there is no pending NPL at the time of verification instead of manually updating the final units.
In order to amend the final units figure, verifier required tick on the checkbox to enable the box for amendment. The verifier or administrator can generate a summary report to check on the NPL units.
Click on the Dynamic Verification Detail Report button to generate the details of verification. This report is able to generate data based on the filtering of advanced search. You are allowed to modify the final unit/amount by click on the check box.
At last, the verifier shall click on the Verify button in order the integrate the final NPL units with Payroll module.
After the non-paid leave has been verified. The administrator can process payroll to process the verification result in Payroll.
Related Articles
8.3 Non Paid Leave Verification Wizard
Leave -> General-> Non Paid Leave Verification Wizard The leave verification wizard allows administrator/verifier to cross check on the unpaid leave records before integrating with data in Payroll process. The Non Paid Leave Verification Wizard ...
Payroll Integration
Location: Payroll -> Setup -> Integration The Integration is cover Attendance, Leave & Expense Claim module. Here are the features in this section explained: Integration Setup : For administrator to configure the integration cut off for each module. ...
Back Date NPL Verification
Location: Leave -> Leave Main -> Leave Verification Wizard Our Leave Verification Wizard now is able to identify any NPL Application which are applied in back dated. System will show all the NPL application which is applied in back date. However, ...
8.1 Integration Setup
Location: Payroll -> Setup -> Integration -> Integration Setup Integration setup is used to configure the cut off payroll items which integrate with leave, attendance & expense claim module. The payroll items include Basic, Overtime, Daily Rate, ...
8.3.1 Back Date NPL Verification
Location: Leave -> Leave Main -> Leave Verification Wizard Our Leave Verification Wizard now is able to identify any NPL Application which are applied in back dated. System will show all the NPL application which is applied in back date. However, ...